CRIB BEDDING TUTORIAL
When I was expecting, I envisioned a beautiful and modern
nursery for my daughter. I would search for days on end throughout my pregnancy
with no luck. It was so frustrating! I hated the cheesy bedding sets, and the
ones that I did like were extremely expensive! It broke my heart when I fell in
love with a bedding set that I had found online, but the company was asking
$130 for JUST the crib sized blanket. Thanks, but no thanks! I busted out the
sewing machine and made a tutorial as I made my daughter’s crib bedding. I made her bedding set for $114. I splurged on some of the fabric, so I bet you could make your own for even cheaper! Happy sewing!
Shopping list:
Sheet:
2 yards of fabric
One package of ¼” wide elastic
Coordinating thread
Crib Bumper:
4 2/3 yards fabric *If you want to use two different colors,
get 2 1/3 yards of each fabric
**If using a patterned fabric such as chevron or damask, you
should buy extra because you will need to line it up so that the pattern isn’t
offset.
Large foam pad 2 X 27 X 76 *I splurged on this. You can
substitute it with quilt batting, or the package specifically for baby bumpers.
If you want to do the foam it was $34.99 at Hobby Lobby. I used a 40% off
coupon on it and got it for just over $20.
For the ties: 1 yard of fabric, or a spool of Ribbon.
If you want to do piping:
4 ½ yards of piping cord
1 yard of fabric (to cover cord)
Crib Skirt:
1 ½ yards of white fabric *Get the least expensive white
fabric you can find. This will not be seen, because it will be under the
mattress.
2 ½ yards for skirt
Crib Blanket:
1 yard of Minkee fabric
1 yard of patterned/colored fabric to match rest of crib
bedding
*I chose to make mine a little bigger, so my daughter could
grow into it. If you wish to do the same, get 1 ½ yards of each instead.
Things good to have on hand:
Ruler/measuring tape
Seam ripper
Fabric Chalk, pen or sharpie
Pins
Good fabric scissors
Small safety pin
Hand needle
Matching threads
Instructions:
Crib sheet:
Lay out the two yards of fabric
Measure 8 x 8 squares on each of the corners. I marked it using sewing chalk, but you can use a pen or sharpie if you don't have any.
Cut out the squares.
Repeat to all four corners
Fold right sides of fabric corners facing each other and pin. Repeat to all four corners.
Sew them together, and repeat to remaining corners.
When flipped inside out, it should look like this:
Take the inside of the corners and open the flaps
Iron it open.
Sew down the flaps to anchor it.
This is what the inside and outside should look like:
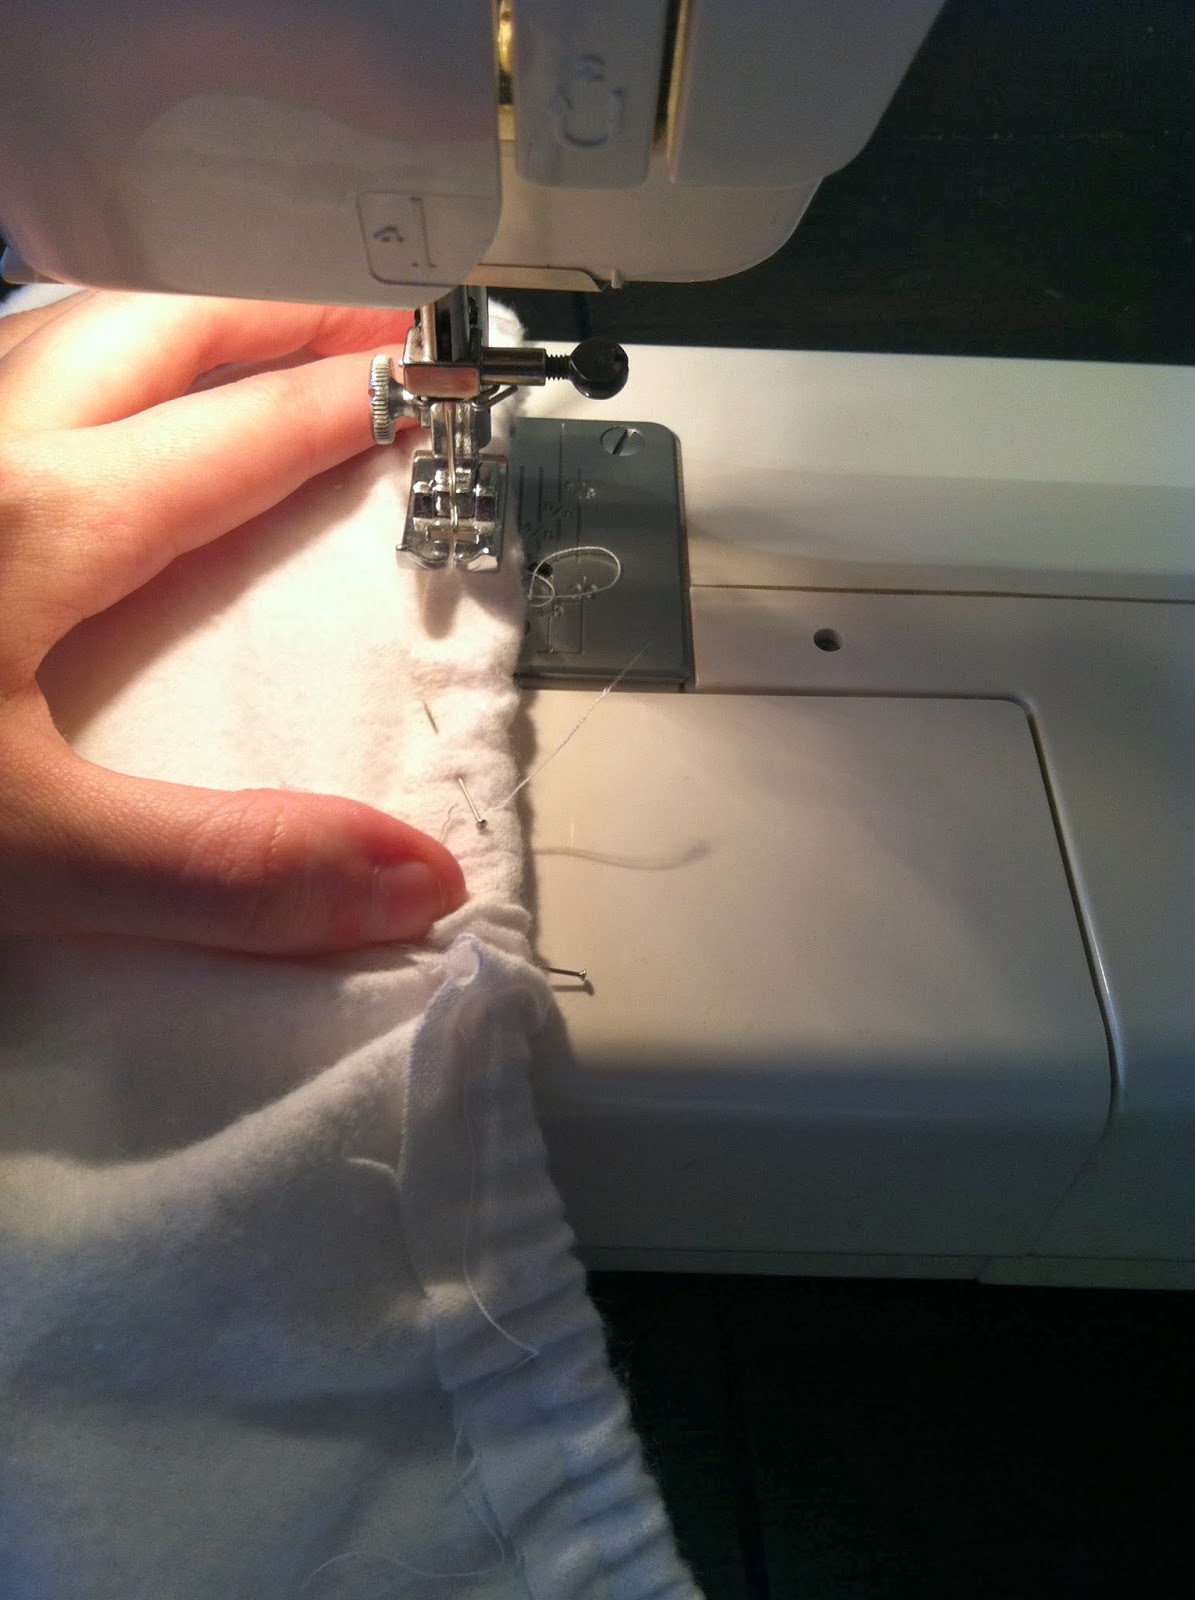
Fold the outer sides of sheet to 1/4th inch and iron to press:
Pin down sides
And sew (leaving enough room for elastic to feed through)
*Make sure to leave a gap (about 6 inches) so you can insert the elastic in the next step.
Take a small safety pin and stick it through one of the ends of the elastic and feed the elastic through the opening you left.
When done feeding elastic through, pin ends of elastic together
Hand sew the ends together securely.
Spread out the elastic within the fabric and sew the gap closed.
This is what your end result should look like:
Crib bedskirt:
Lay out fabric
Make sure long sides are 52.5 inches long and small sides are 28 inches long.
For the skirt, lay out fabric
the two short sides should be 27 inches long and 15.25 inches wide
the long side should be 52 inches long and 15.25 inches wide
*You only need to cut one long side for front of crib, no one will see the backside.
Fold along bottom of fabric to create a 1 inch hem and press with iron. Repeat to all three pieces of crib skirt.
Open up the fold you have created.
Fold bottom edge to the crease
Flip up along the crease and pin
Fold edge into a triangle and fold under.
Fold sides over at 1/4 inch and press
Pin and sew along edges. Repeat to all three sides of crib skirt pieces.
Take the crib skirt short sides and pin (right sides of fabric together) and pin.
Do the same with the long side. ( I left little gaps so it would better fit my crib because of the metal supports it had ) Then sew.
This is what it should look like:
I had extra white fabric on the back end so, I decided to add ties to it. Nothing is more annoying than your bed skirt sliding around when you are just trying to change a sheet.
I cut four 22 inch ribbons
Folded them in a V
Pinned them evenly on the edge of white fabric
and sewed them on.
This is how it ended up looking like:
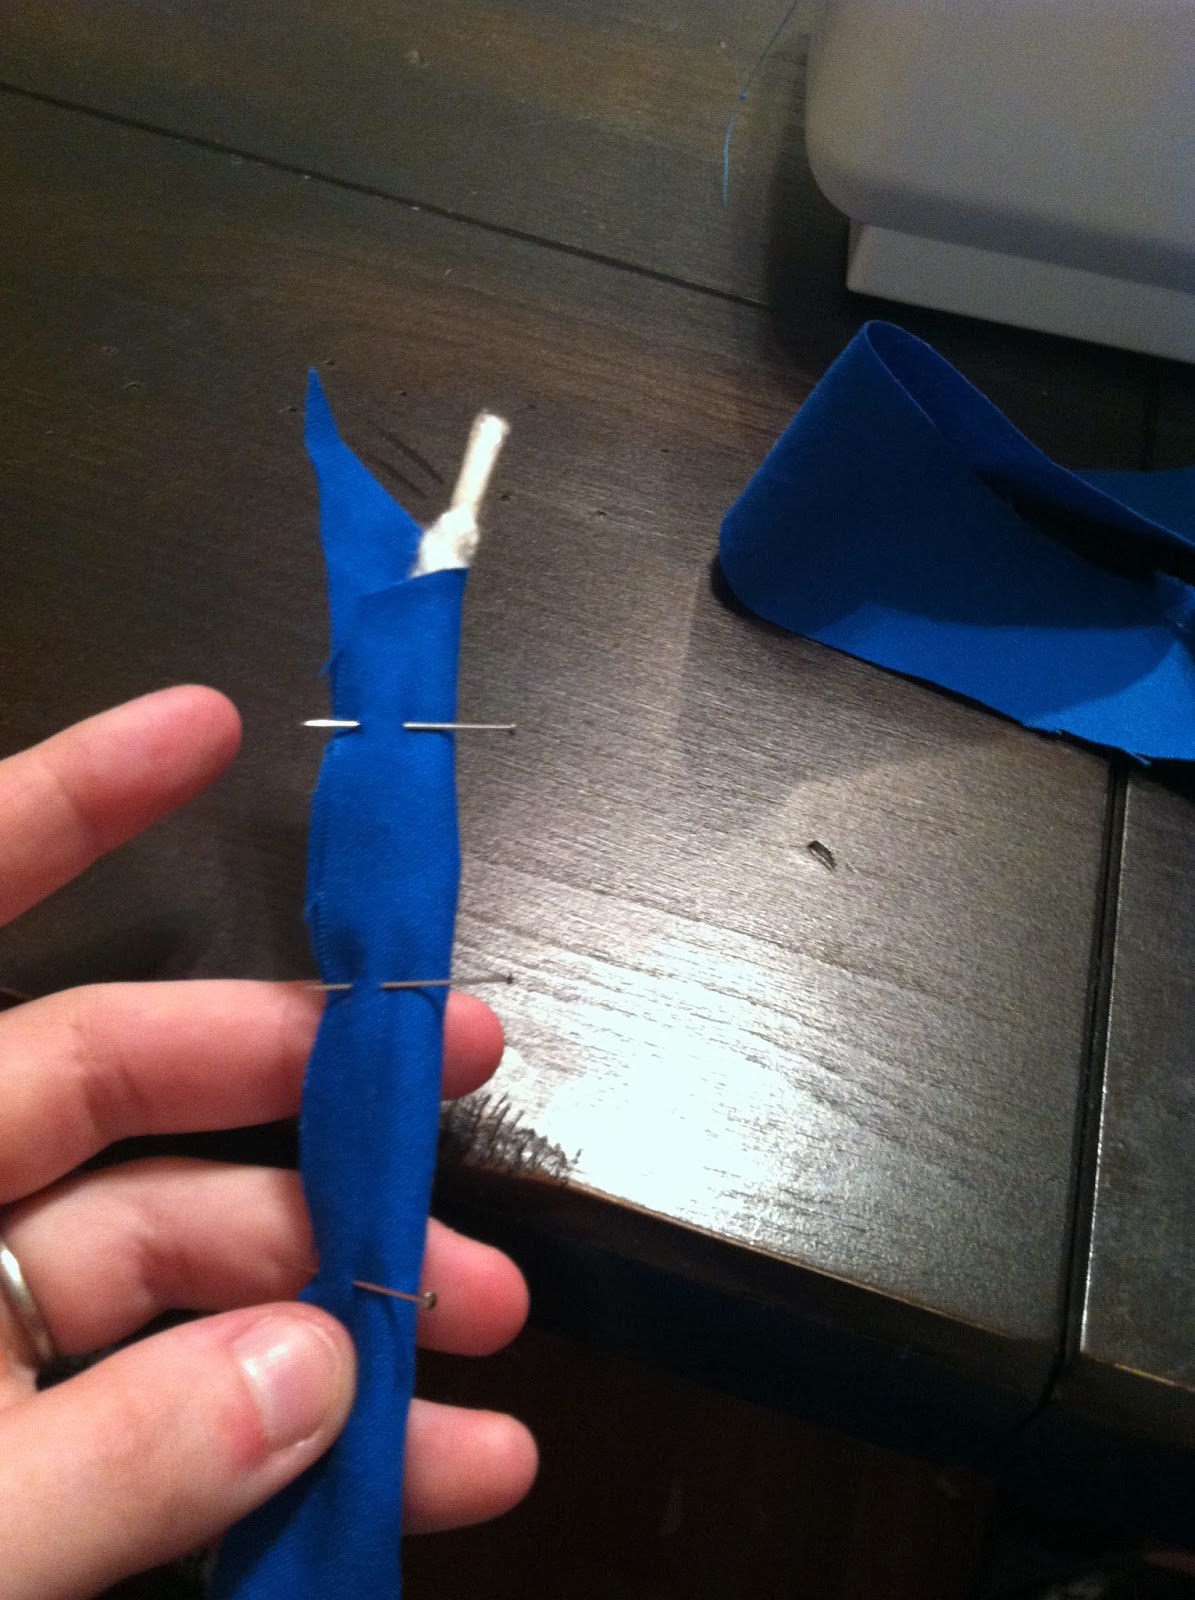
Binding for the bumper:
Lay out fabric, folded. Create a diagonal and mark it along corner.
Then mark straight lines up from the marked diagonal up to the fold and cut it out.
I cheated and traced what I just had cut.
Then I cut them apart.
Take the ends and over lap them like so:
and pin them together
Sew together
This is what it should look like. Repeat to make one whole long piece.
Put in cord and wrap the fabric around cord, meeting the edges together and pin.
Once piping is sewn. Move on to the foam.
Measure out two 23 x 12 inch rectangles, and two 50.5 x 12 inch rectangles. Then cut them out.
Next get out the main fabric you will be using for the bumper. If using a fabric that needs to be lined up, line it up before cutting.
And make sure the edges line up easier
You will need to cut four long sides: 54.75" x 13.75"
and four short sides: 27.5" x 13.75"
*I cut along the fold so the pattern would be the way I wanted it. I had to cut more than four pieces for the long sides and connect the pieces to make it long enough.
Then cut ribbon for ties 22 inches long. I cut a total of 11.
You are going to use the same V method that you used for the crib skirt.
Measure out on your crib where you would like the ties to be and pin them onto the top of your fabric where you would like them.
Then add your piping on top of them along the top edge and pin.
Take the same length fabric and pin it on top of the piping making sure the right sides of fabric are facing each other.
Sew along the top
This is what it should look like when the fabric is opened up after sewing it.
With right sides facing together, line your design up together, pin, and sew. When done sewing sides together, cut off the excess fabric.
Insert foam padding into each fabric sleeve you have created and hand sew the bottom shut. (Make sure edges are folded inward before sewing so it looks clean and free of stray strings from the fabric.
Then put on your awesome new bumper!
Crib blanket:
Lay out fabric and lay the right sides of the fabrics together. Smooth out and cut out 35 x 29 inch rectangle. (for crib size blanket)
** I did mine larger, so keep in mind that yours will look smaller than what is pictured.
After cutting, pin all of the edges together.
Sew around edges, leaving an opening so you can pull the blanket through to get it right side out.
Pull right side out and then sew along edges to seal the hole. (make sure fabric where the hole is, is folded in to line up with edges.
Voila! Then you are done :)
And you have a happy baby :p
-The Spencer Girls !